|
cepha-cat-craftsThe home of PURRR products
|
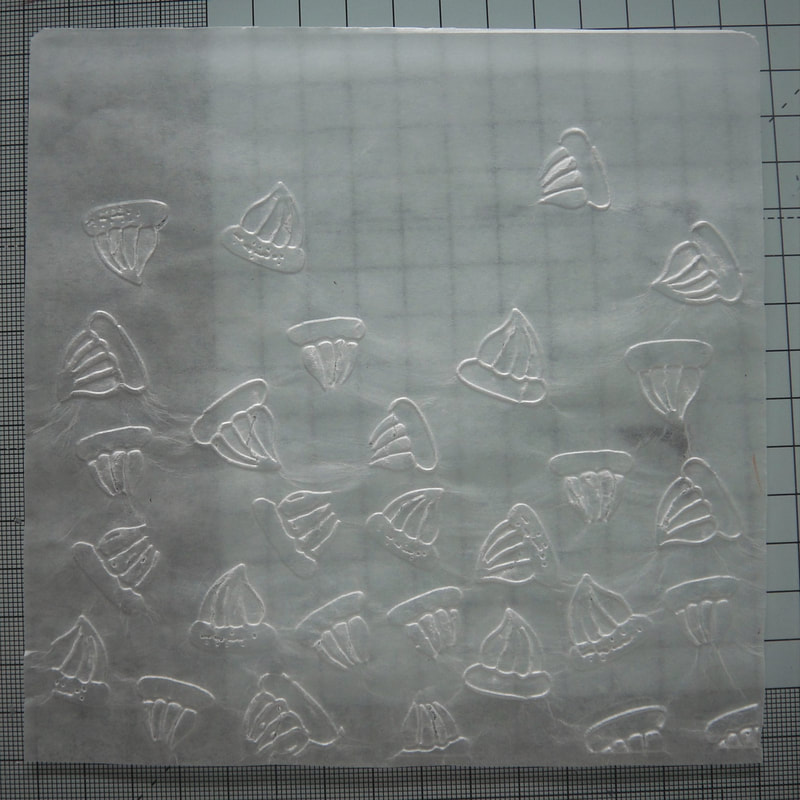
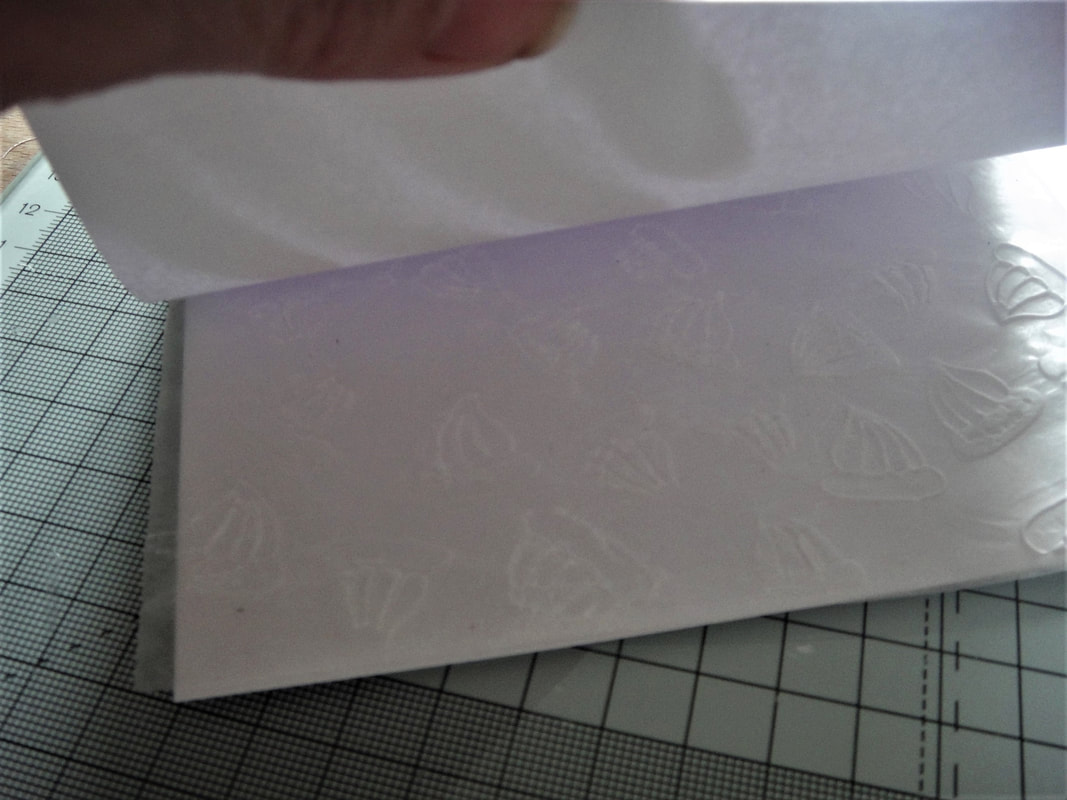
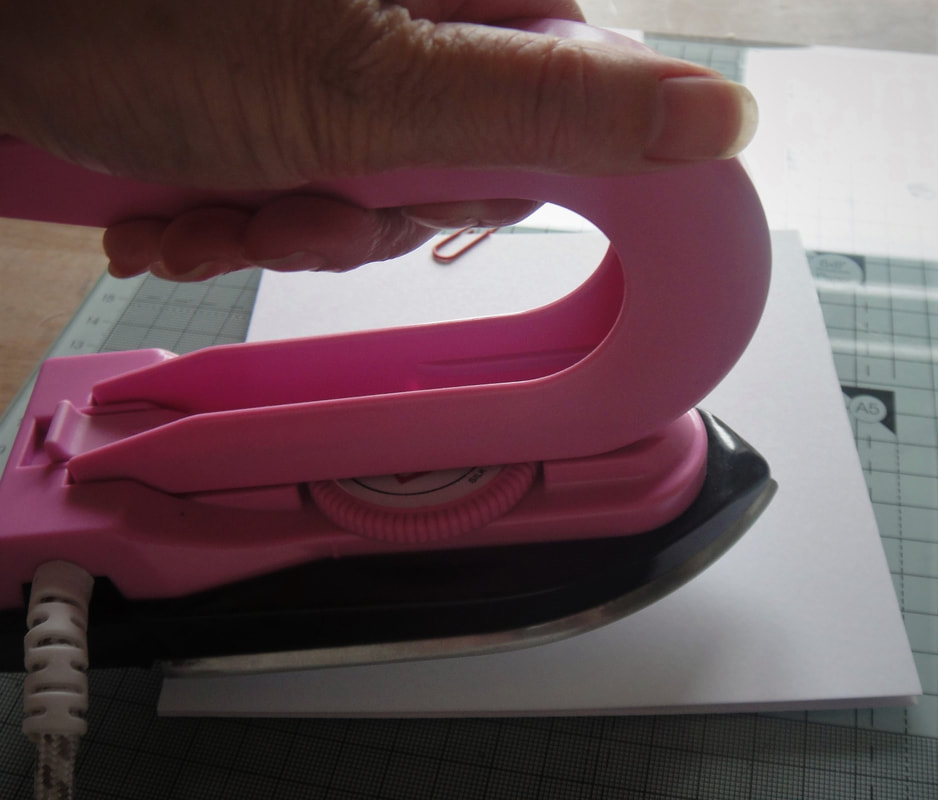
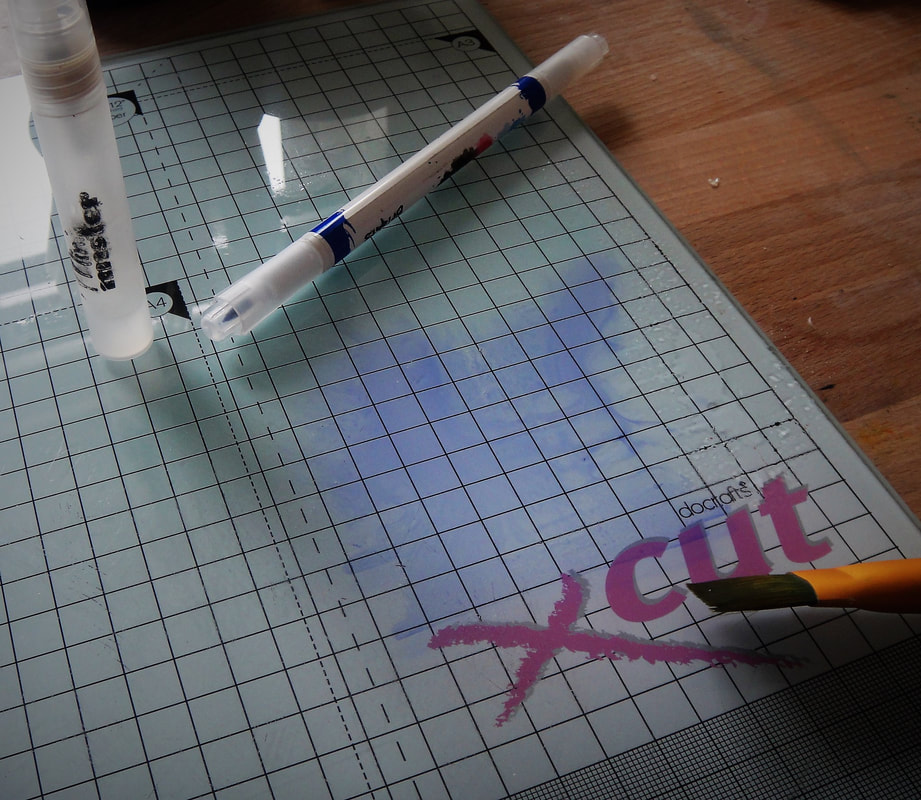
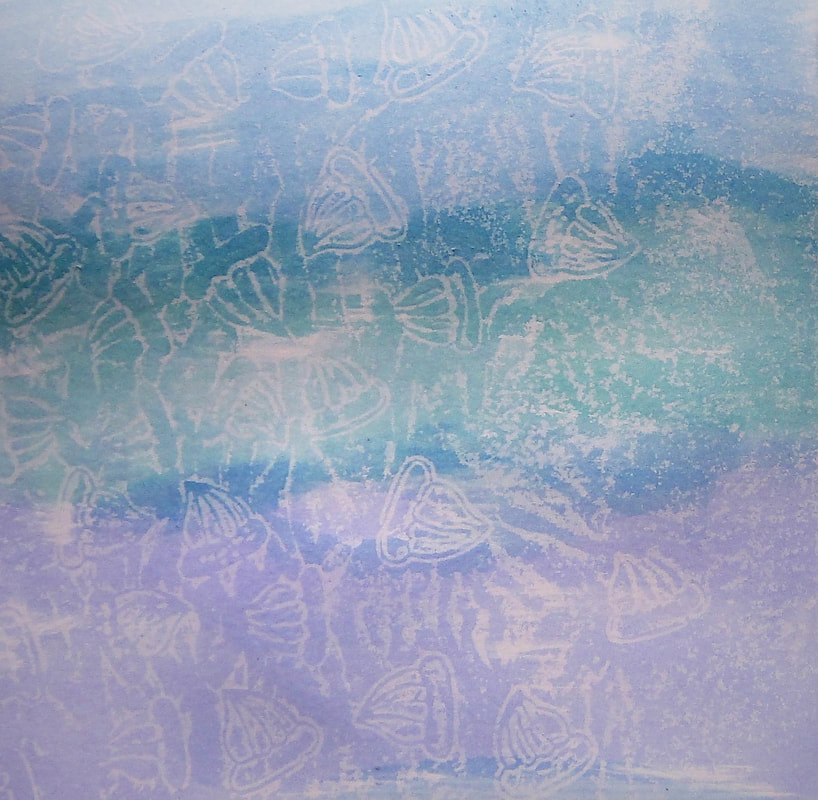
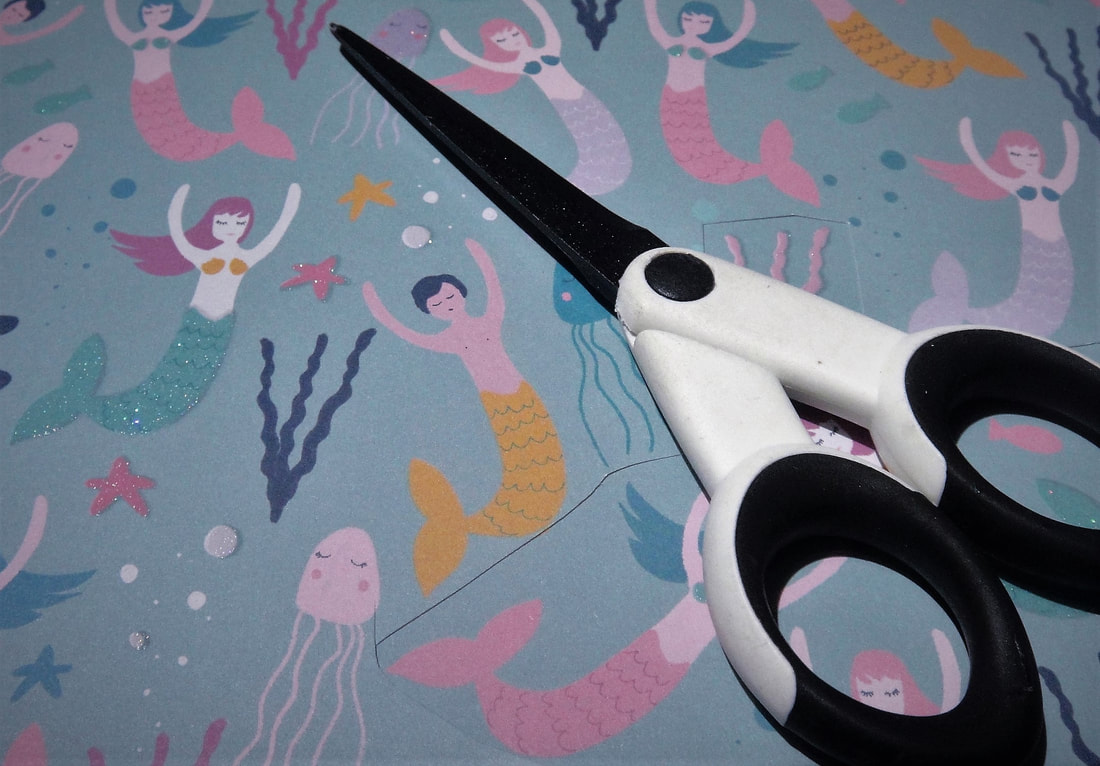
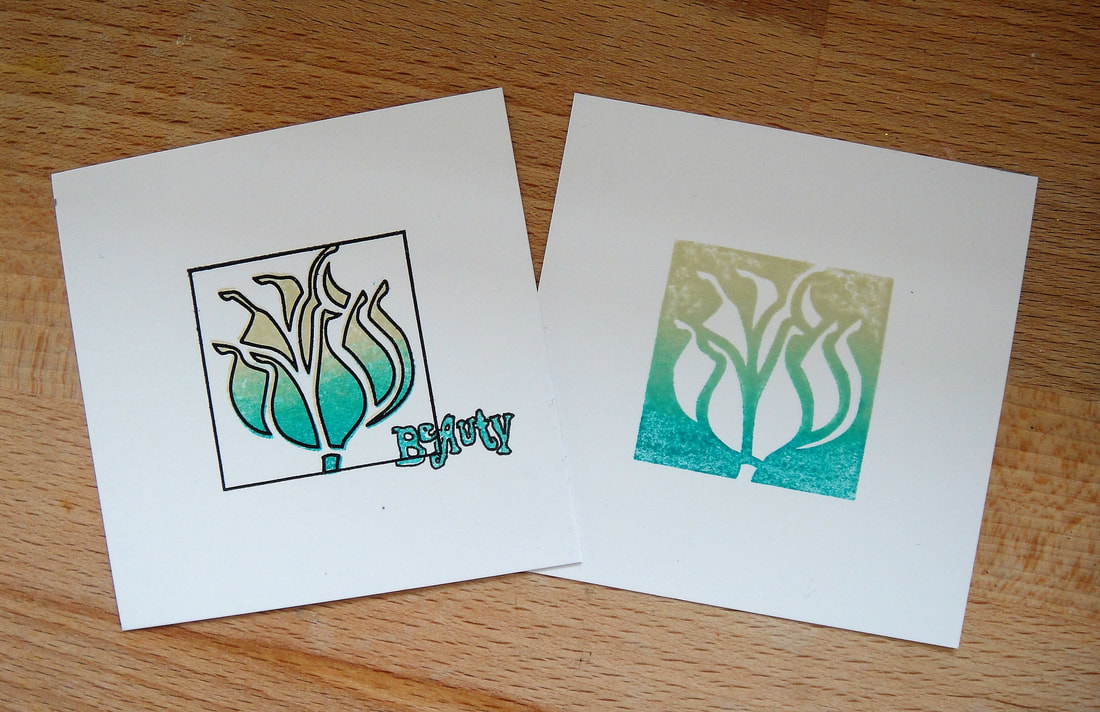
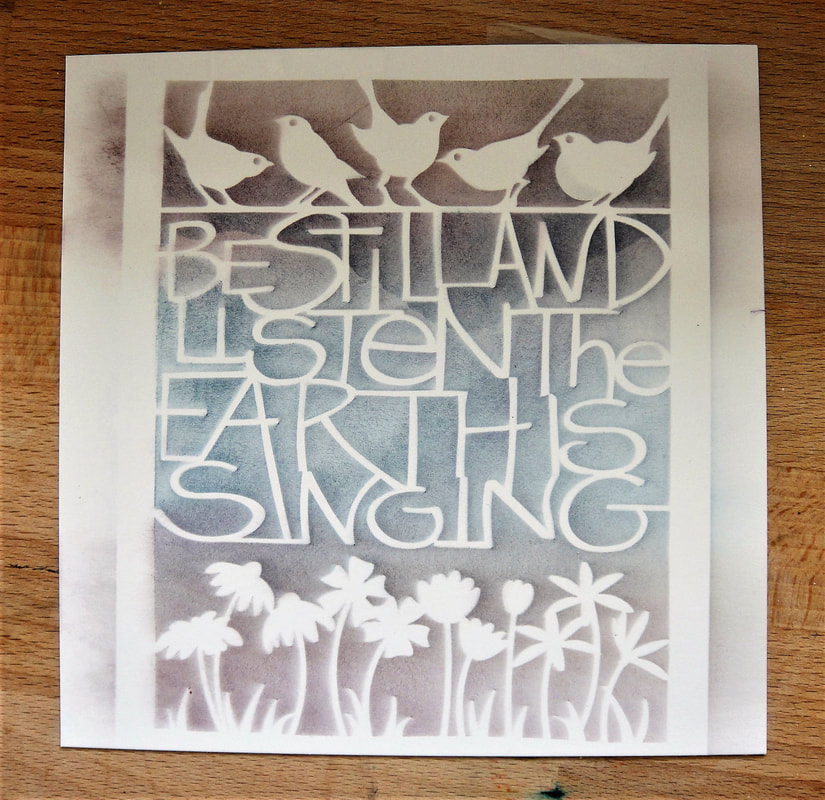
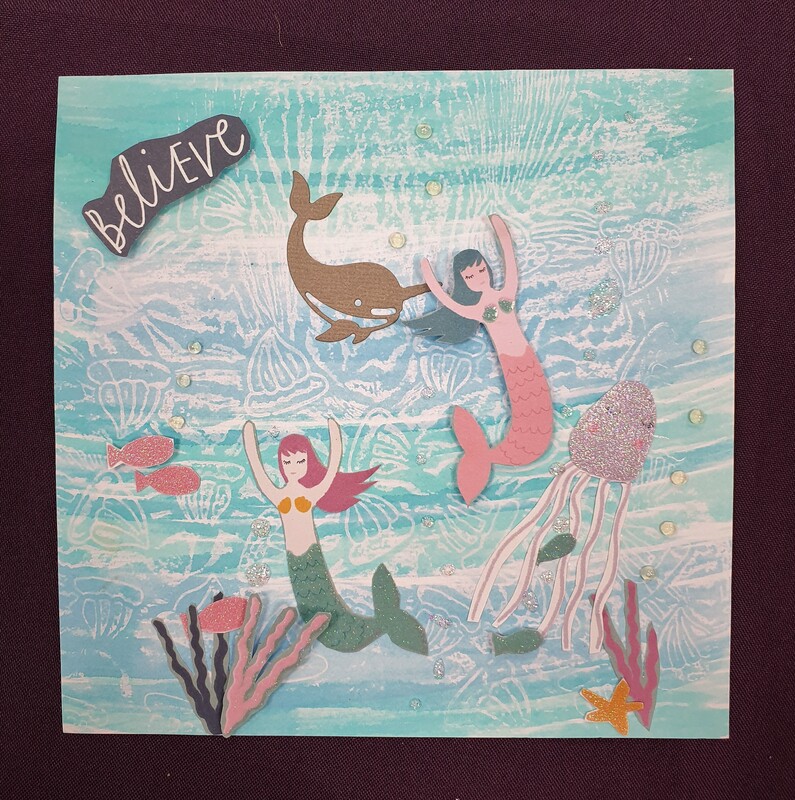 This image for the front of the greeting card was made using wax paper for the background. Keep scrolling down for step by step instructions. 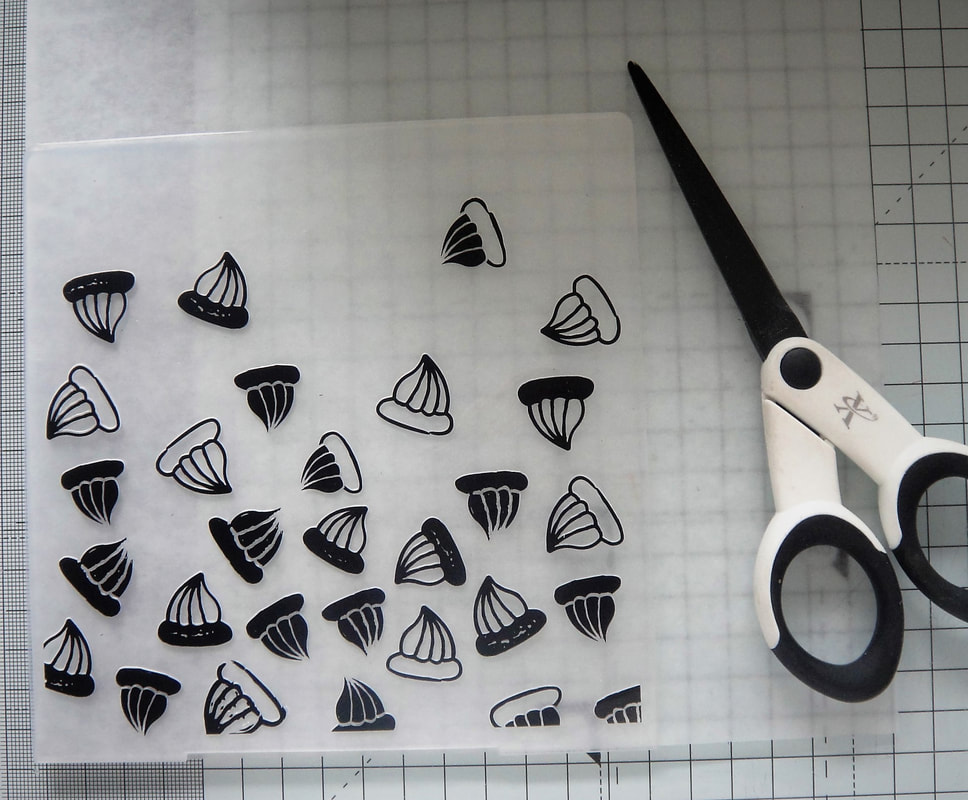 Choose your embossing folder and trim wax paper to fit inside. The wax paper should then have the embossing image. Place between 2 pieces of card (that can take some water), then iron so the was image is transferred to the card. Use watercolours to paint the background. In this instance I used watercolour markers, scribbled onto my glass mat, spritzed with water then painted on. You can also use water-based ink pads and watercolour paints. Cut out the elements you want in your picture. These might be from themed papers or using dies. Below is an example of a different non-water themed image using the same technique. 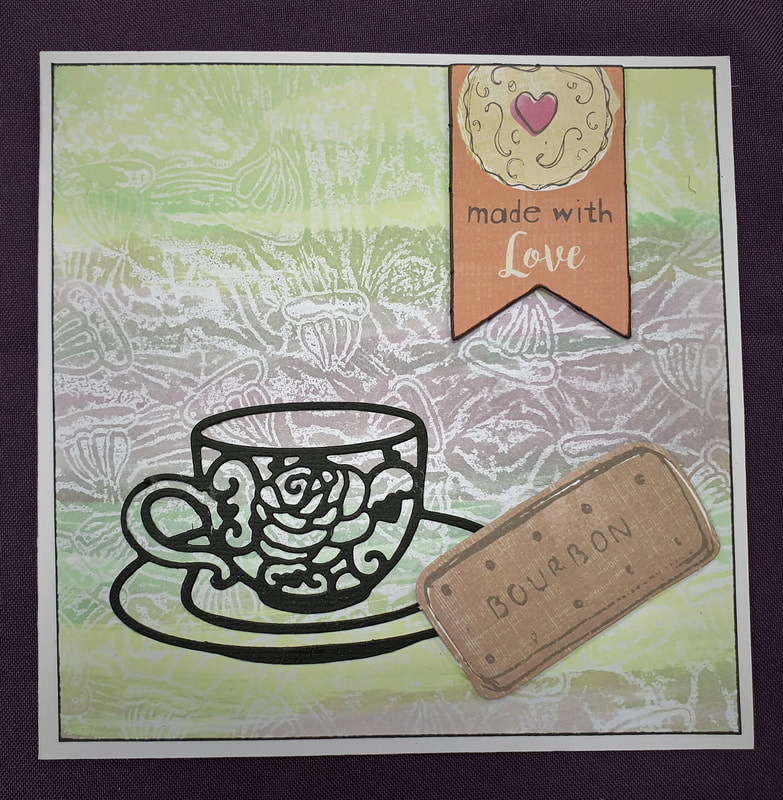
0 Comments
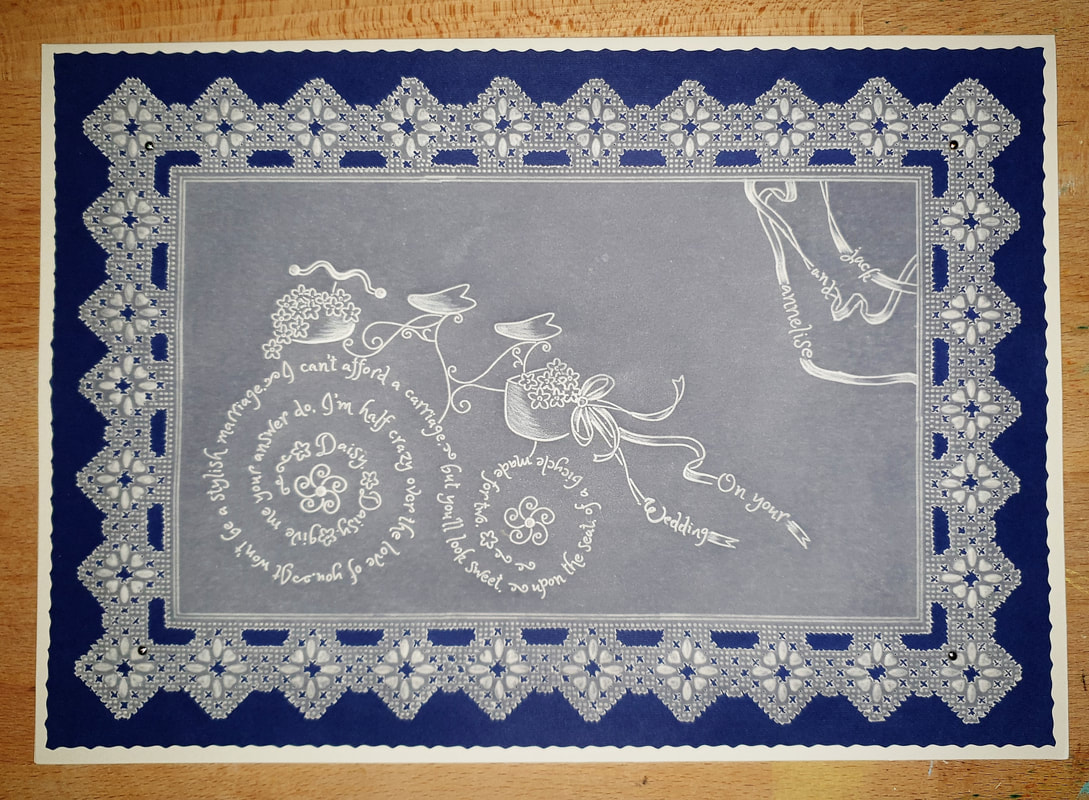 This card was made for my darling Niece and her husband for their wedding day. The card turned out much larger than I expected and required an A4 card blank to mount onto after putting the blue card behind the design. I used Clarity Groovi plates to make the design. The bicycle is from the 'Bicycle Dangles' A5 plate. I also used elements from that plate for the ribbon and names in the top right hand corner. The outside edge was completed using the Queen Victoria Lace Duet A5 Square Groovi Piercing Grid. Can you find the mistakes I made down each vertical edge; at least I did it on each side so it matches and looks vaguely like it was done on purpose. I secured the parchment to the blue card using very small silver brads. Overall I am rather pleased with it considering this was the first time I had tried piercing and picot work.
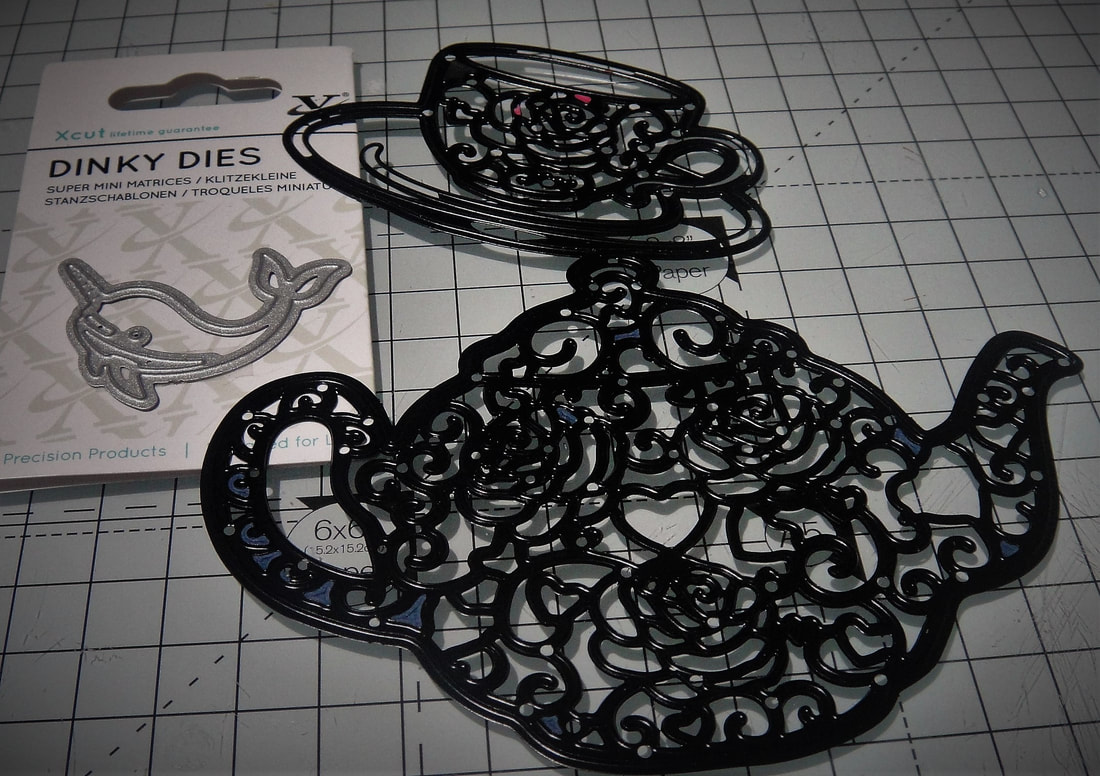
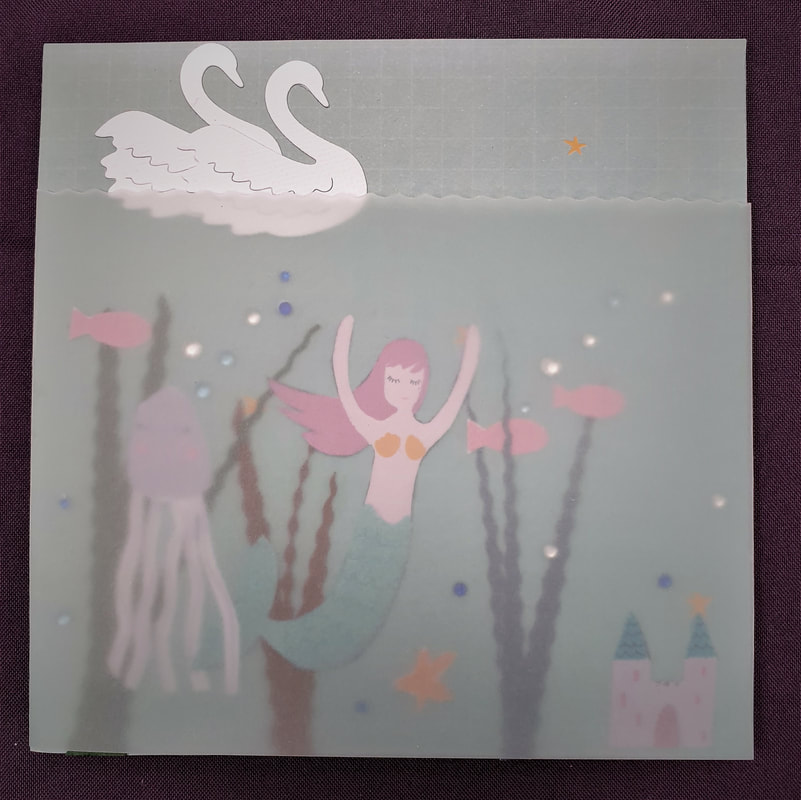 So it is demonstration season again. This card is from my first demonstration this year at The Range Corby yesterday. Had some lovely ladies drop by to watch and say hello. This card uses the papers from the new Papermania range Mytho-Logical. I covered the images I cut out with coloured Vellum to imitate the water. The swan's were cut using one of the new X-cut Dinky Dies. Added gems in different colours for a bit more interest. I am quite pleased how it turned out. Below is a picture of the card with the water pulled away and some more samples from the demonstration. 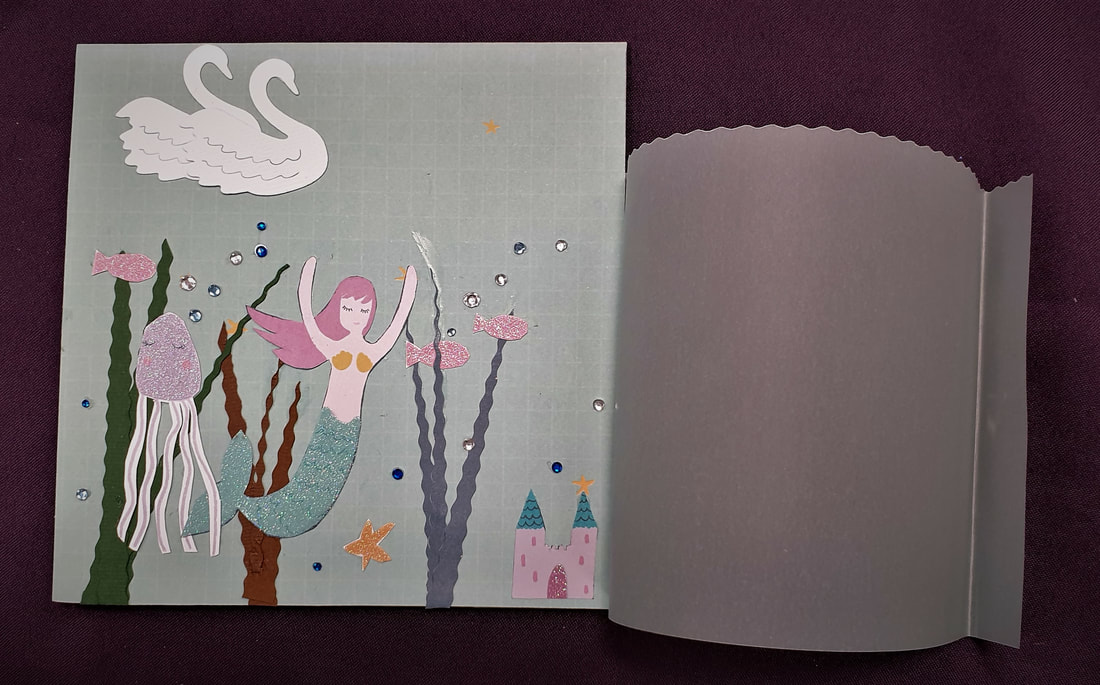 The photo below is a sample of the Make & Take for this round of demonstrations. If you would like to make this card please look at the events page and come to one of my demonstrations over the next few weeks in; Milton Keynes, Harlow, Luton or Bedford. 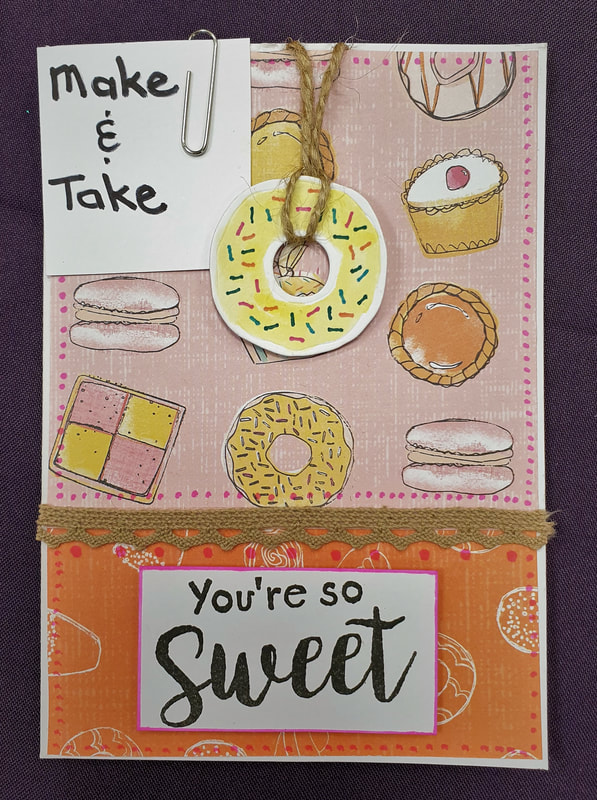 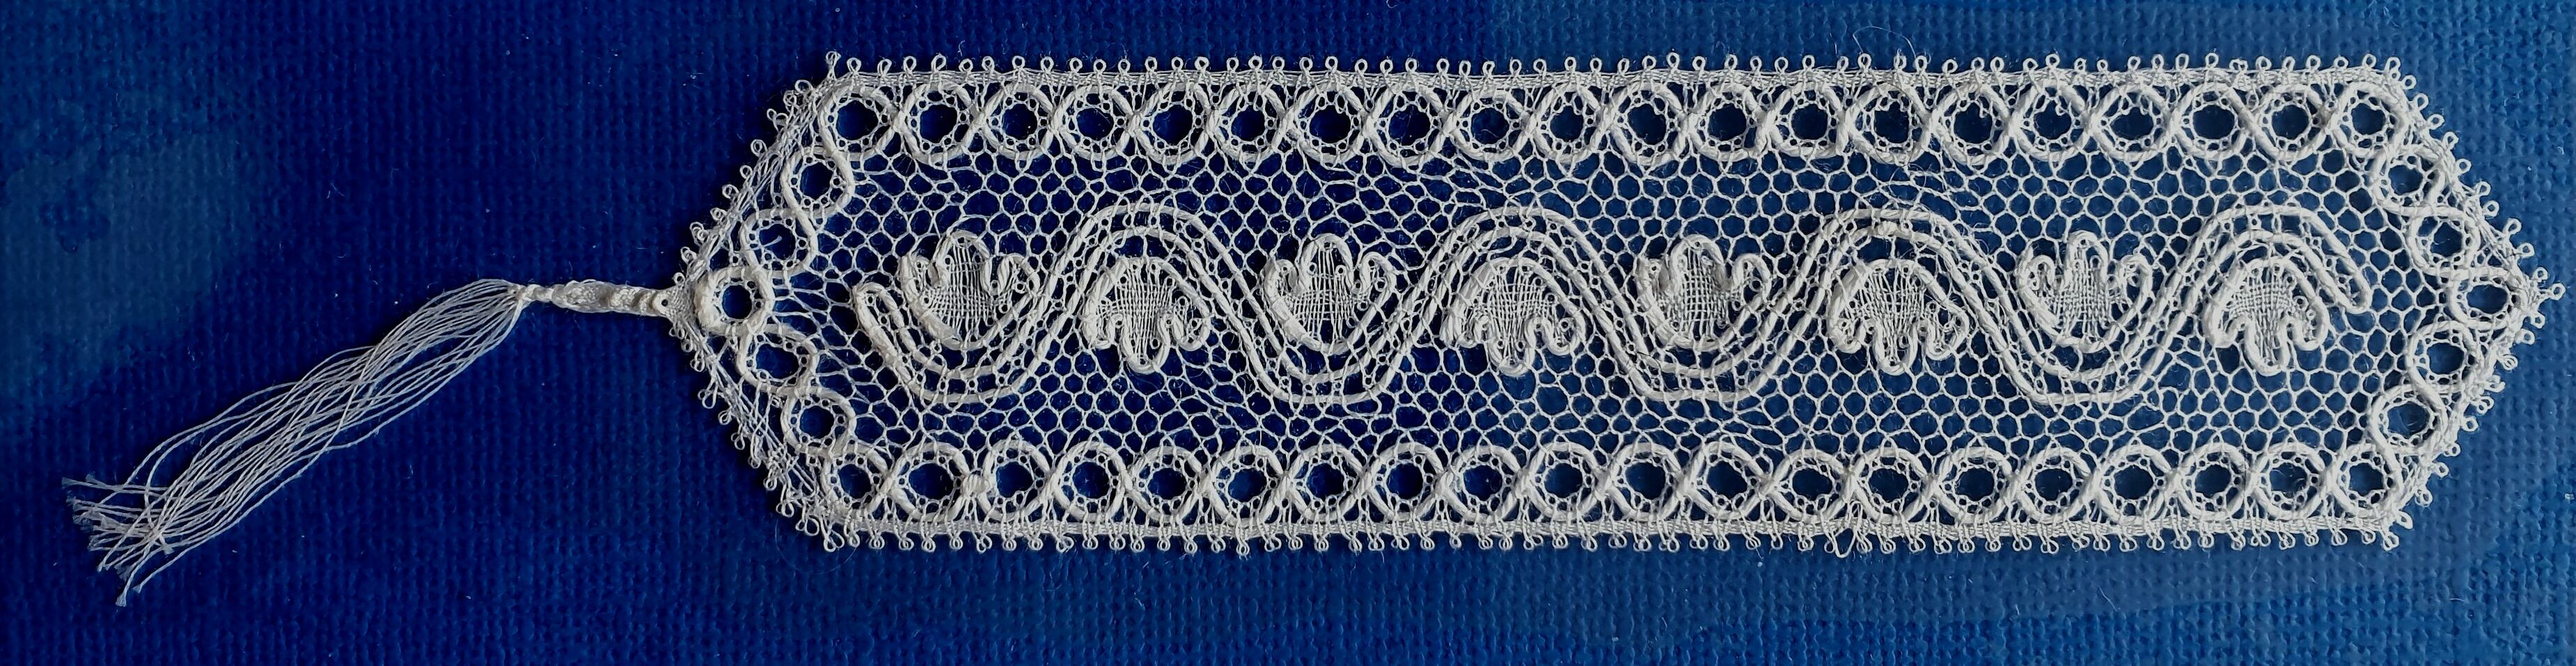 I have been going to bobbin lace classes for some time now and after doing the basics, was drawn to Bucks point lace. Below are pictures of my latest finished product; Serpentine, from Geraldine Stott's book 'A visual introduction to Bucks point lace'. It took a long time to complete and I always think back to the days before lace was machine made and lots of women used to handmake lace for a living. The time and effort it takes to make lace also explains why only wealthy people had lace and a gift of lace was a precious thing. People would also take lace off of clothing they no longer wore and would attach it to their new clothing, some items like collars were also detachable and could be worn over many clothing items. 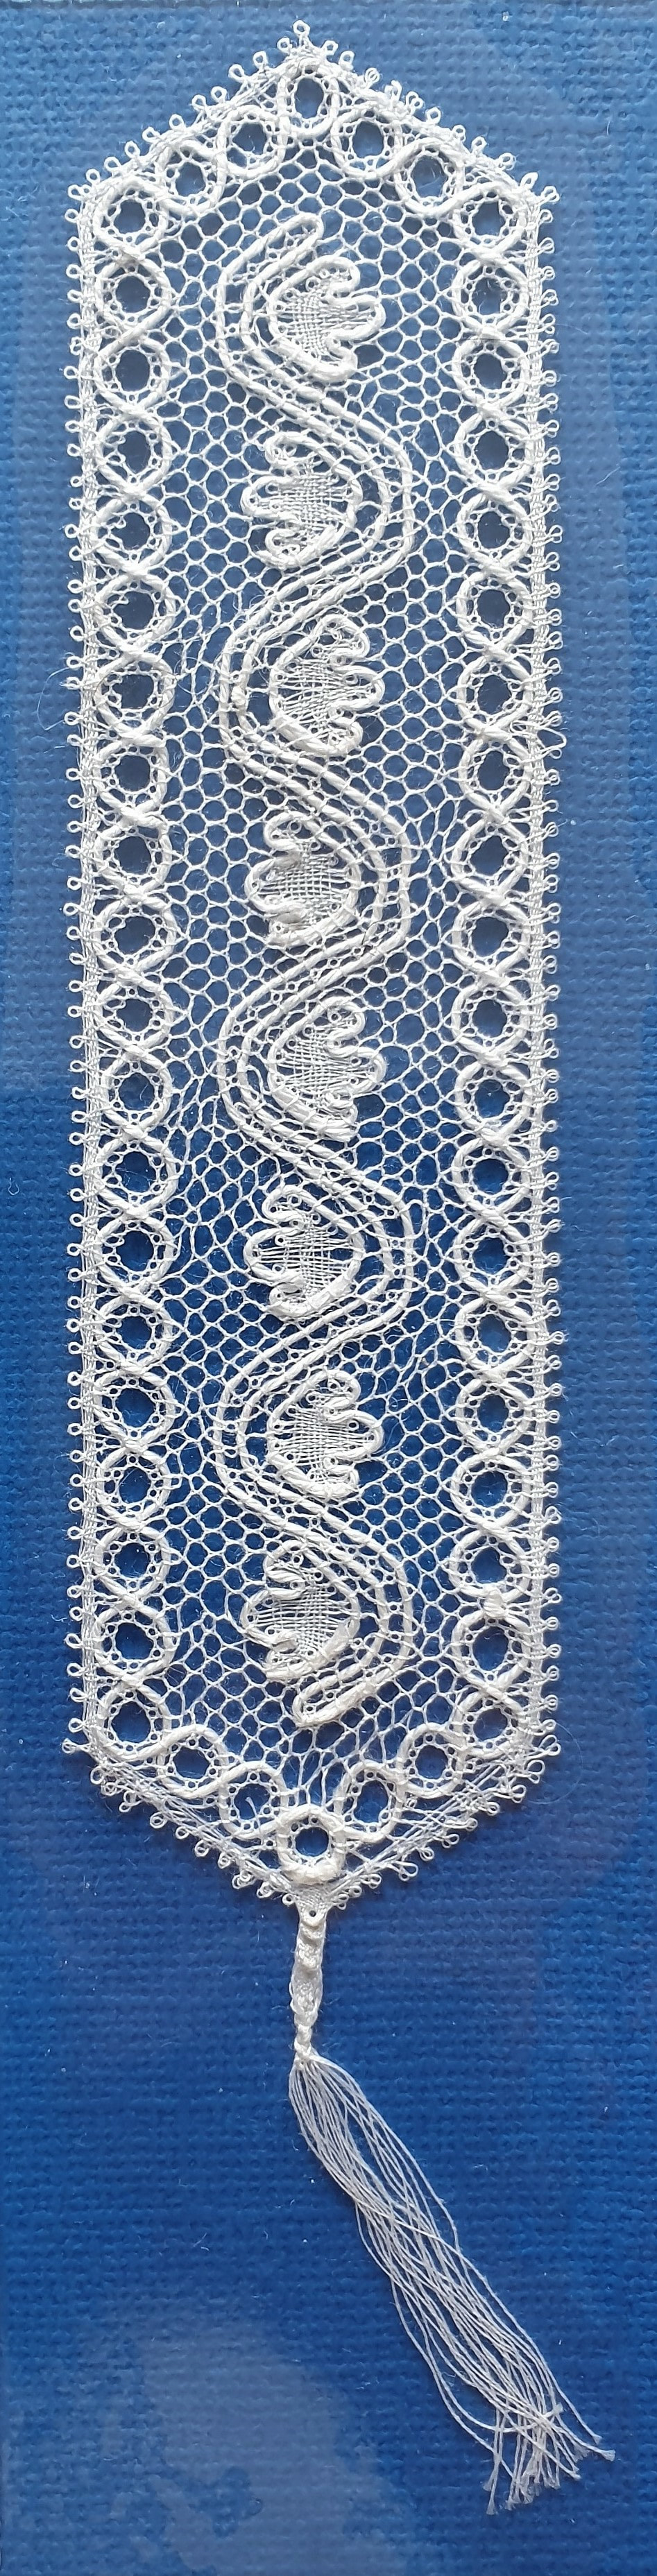 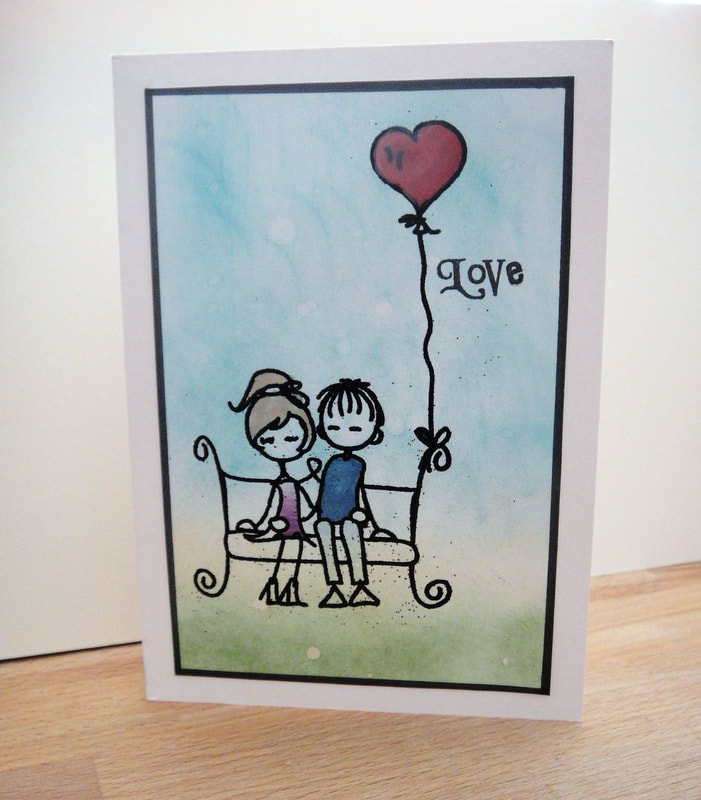 I made this card for my husband for last year's wedding anniversary. It was a quick make so I made one fundamental error - I forgot to use my antistatic bag before stamping and embossing. Because I embossed with black powder the little dots of powder that are not where they are supposed to be are all the more obvious. The heart balloon was covered in 3D gloss but for some reason it didn't go clear. I didn't try to speed up the drying with the heat gun so it wasn't that. I think it might just be a bit too old and I need some new 3D gloss. Love the stamp from Bee Crafty though; it is a Fleur and Freddie stamp. The Love was done with a Clarity word chain stamp. Inked the background with distress inks and did a little water splatter. Coloured in Fleur and Freddie with watercolour markers. Went around the edge of the card with black Promarker then mounted it onto an A6 card blank. 
On the 17th February, Hochanda in association with Clarity hosted their first Craftalong.
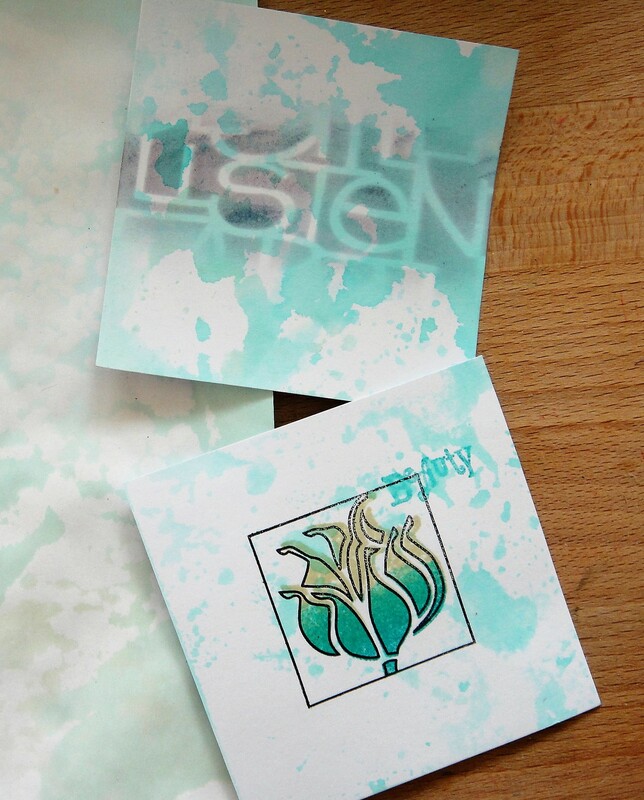
I attempted to craft with Barbara as she demonstrated the techniques, however I hadn't purchase the Craftalong pack, so I used similar products from my stash to practise. Below are the results.
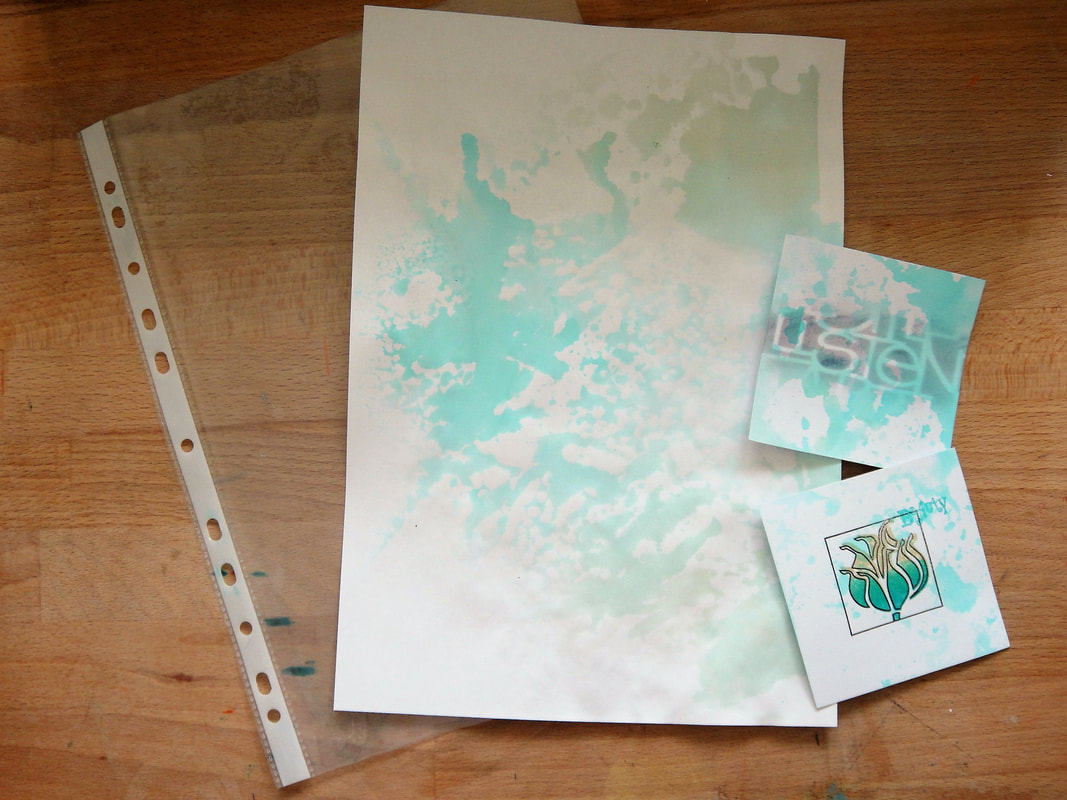
So I had never used a poly pocket before. You need to cut it open then with your ink inside you spritz with water; it stays wet for ages and you can pull several prints from it to use as backgrounds.
So this is using the 3 way overlay stamps with 2 different coloured Artistry inks.
This is using the stencil, again with two different coloured Artistry inks. Barbara showed how to use the brushes going only one way to create a drop shadow. Also love the sentiment on this stencil. Below is a couple more close up photos of my work.
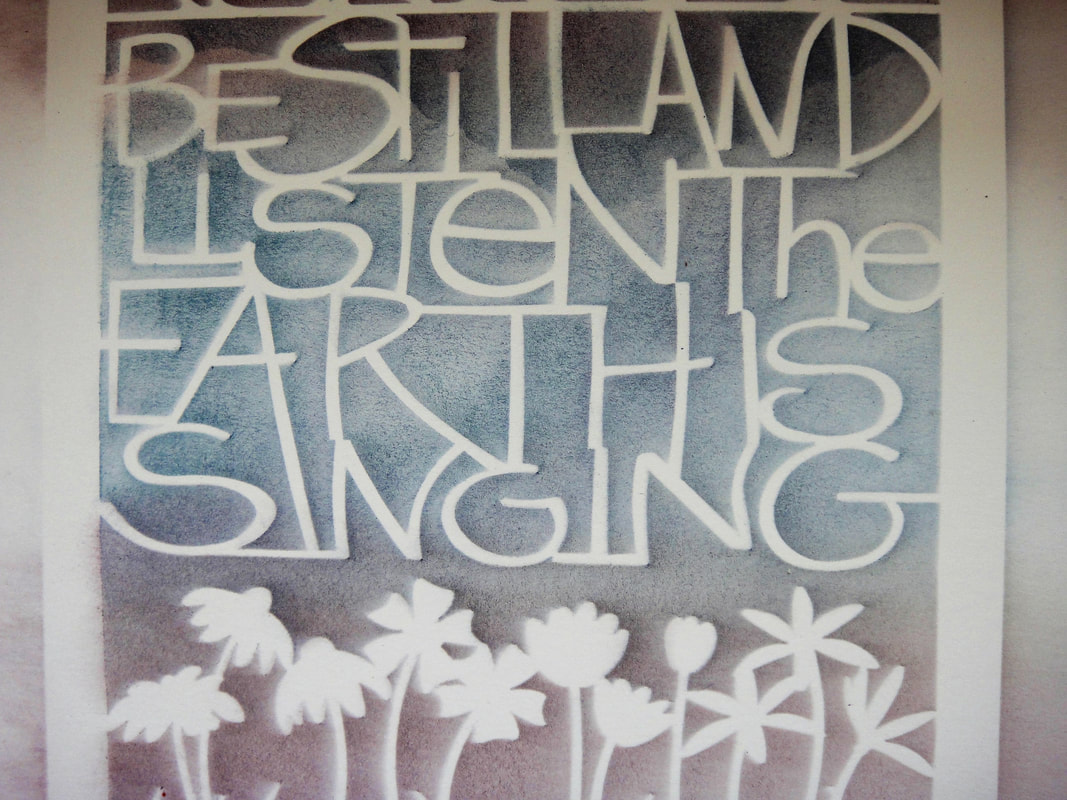
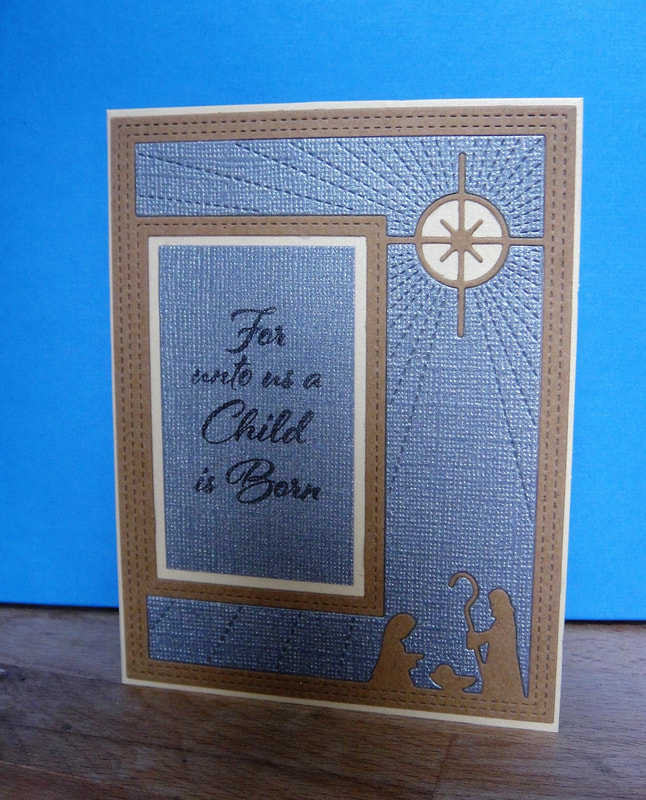
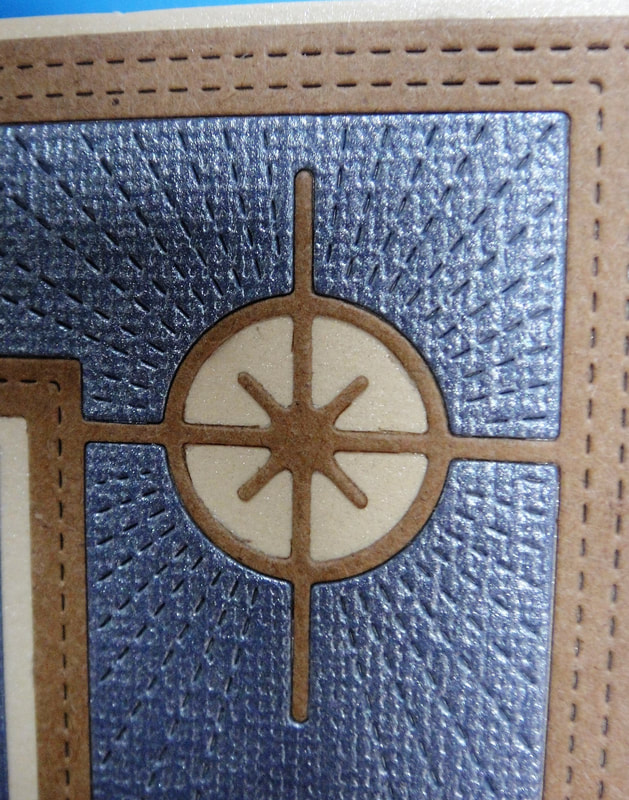
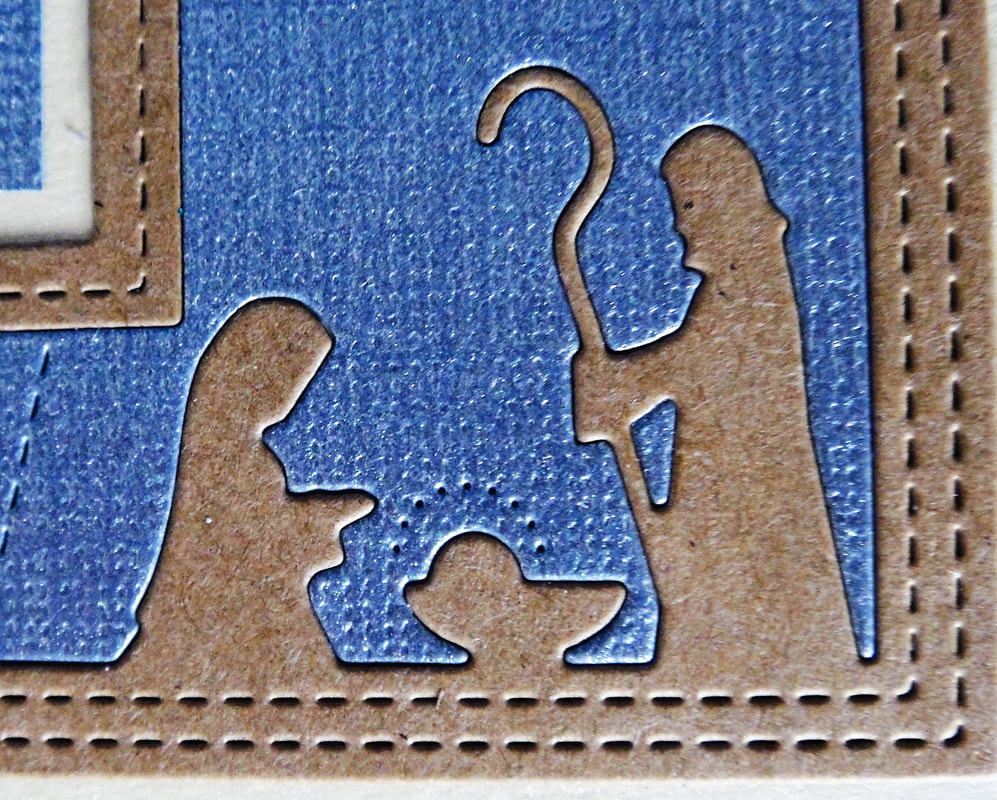
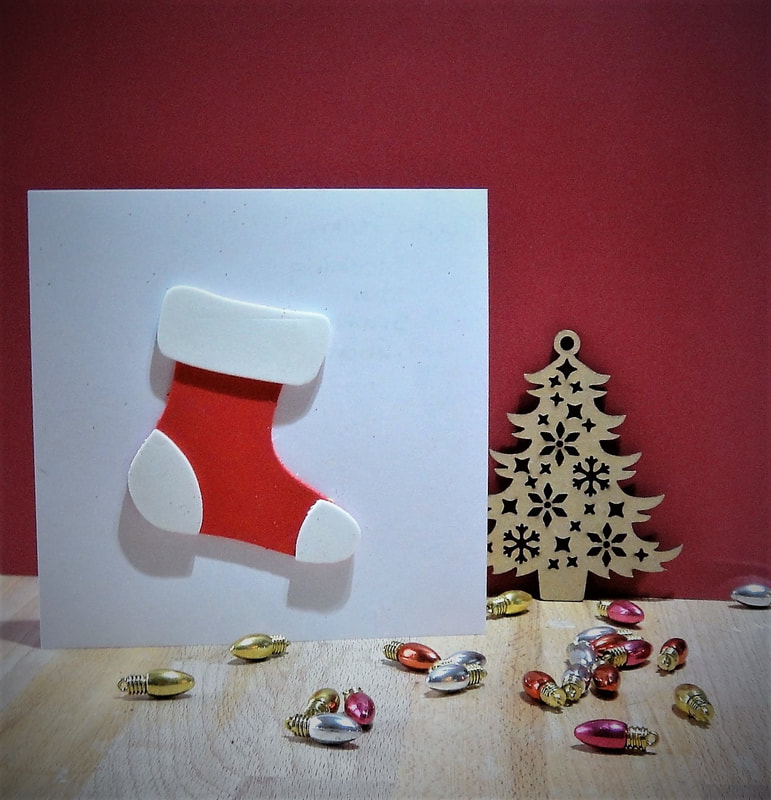
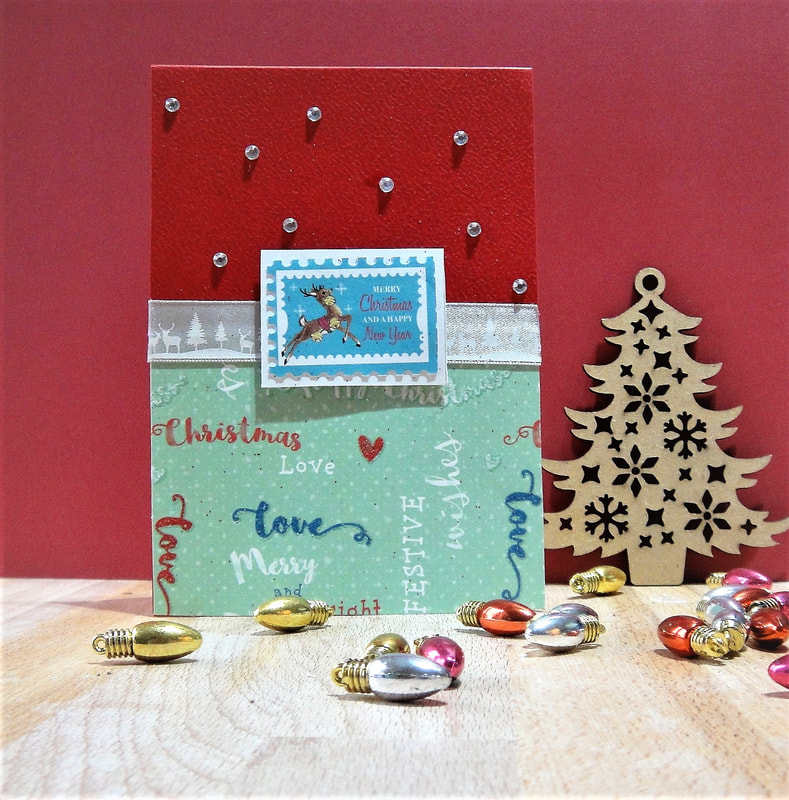
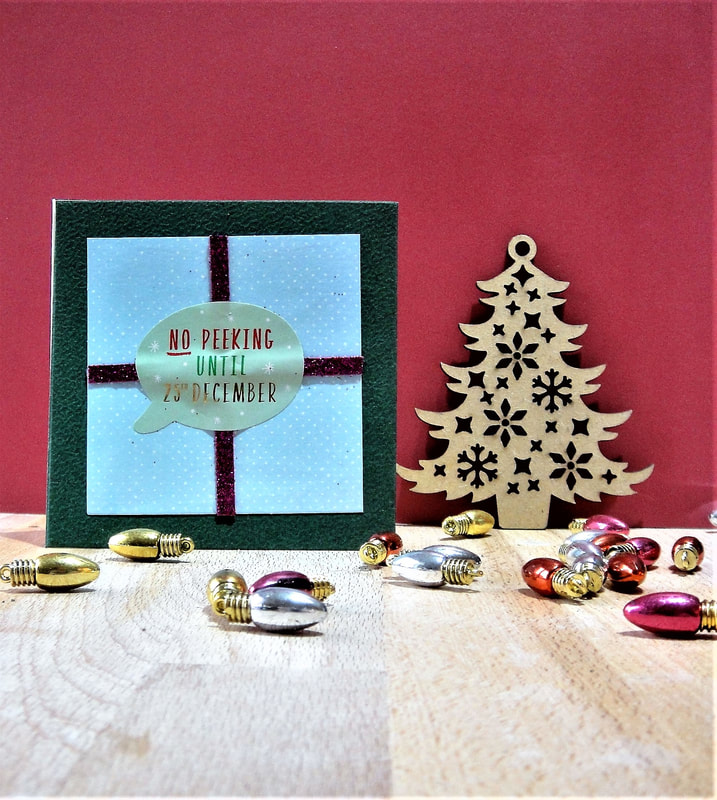
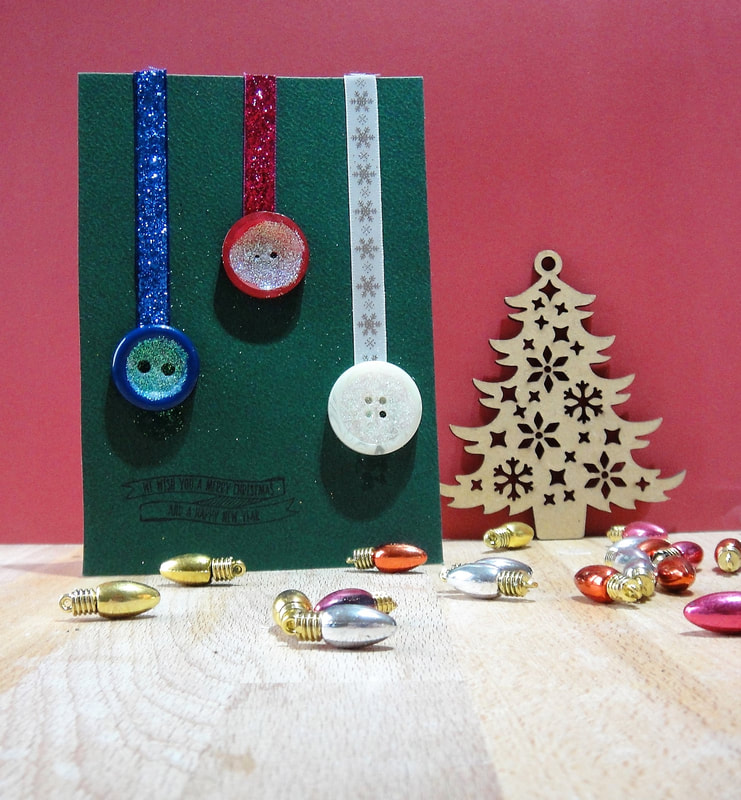
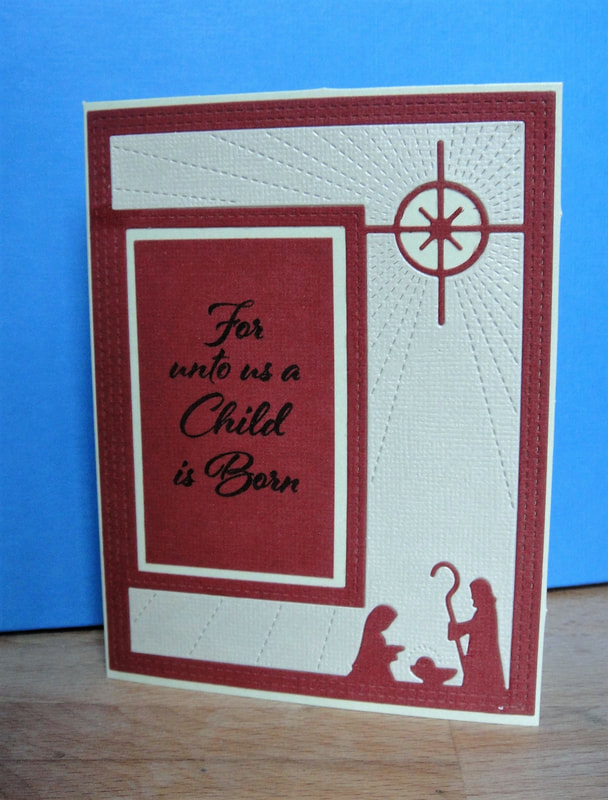 So now Christmas is past and all recipients have received their Christmas card from me I can write about it. This season I used this lovely Poppy die and stamp set (as seen on one of the Let Leonie Loose shows on Hochanda). By die cutting each image in two colours I could use the positive and negative each time (see photo below). I trimmed the rectangle that the sentiment is stamped on from it's original die cut size. Using my Tonic stamping platform helped to place the stamp accurately onto the card each time. Below is some more images of the card as well as some close up shots to showcase the beautiful detail of this die. 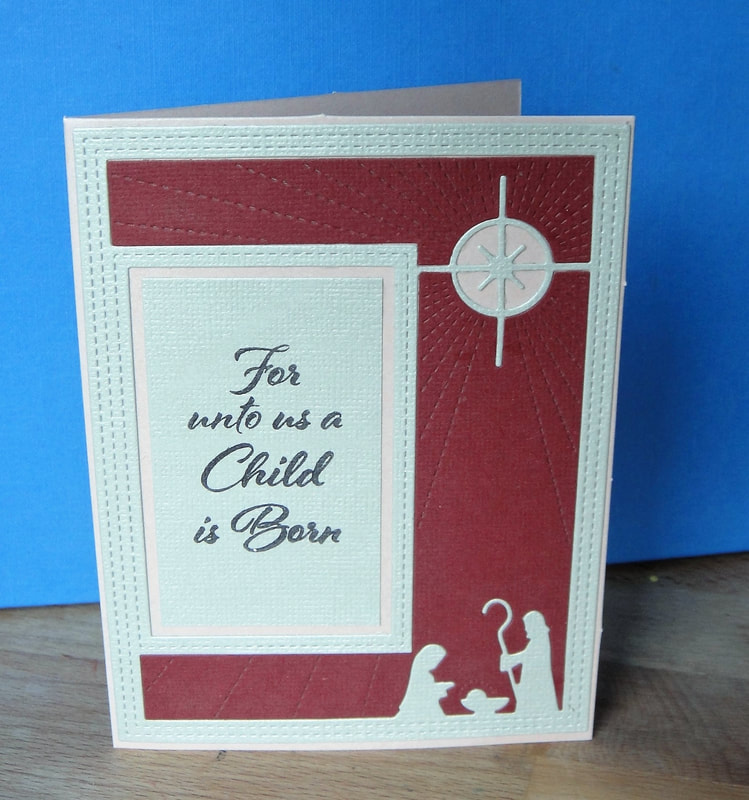 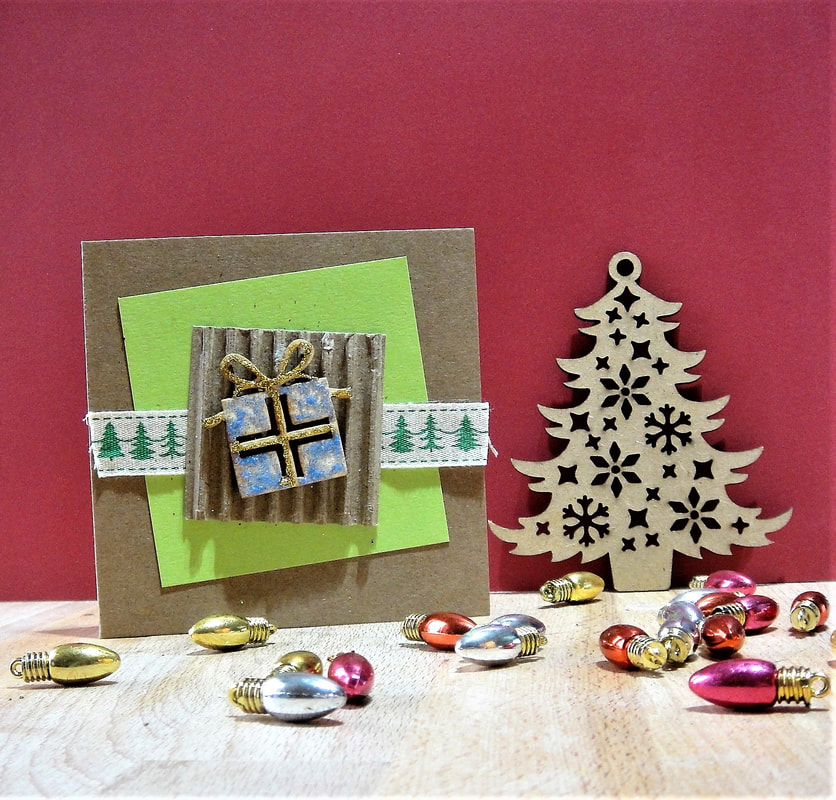 So I had a lovely time doing a Christmas children's card making event at the Office outlet in Milton Keynes at the end of November. Above is one of my samples for the day (the corrugated card is recycled). Below is a photo of the card one of the children made using the above to guide him; I thought the black outline he did on the red ribbon wooden embellishment was outstanding. Designing cards for children to make can be difficult in that they need to be challenging enough to keep them engaged, interesting enough to entice them to engage in the first place but simple enough that they can finish the card and feel proud of it. Below is some more samples/idea's for Christmas cards for children to make. 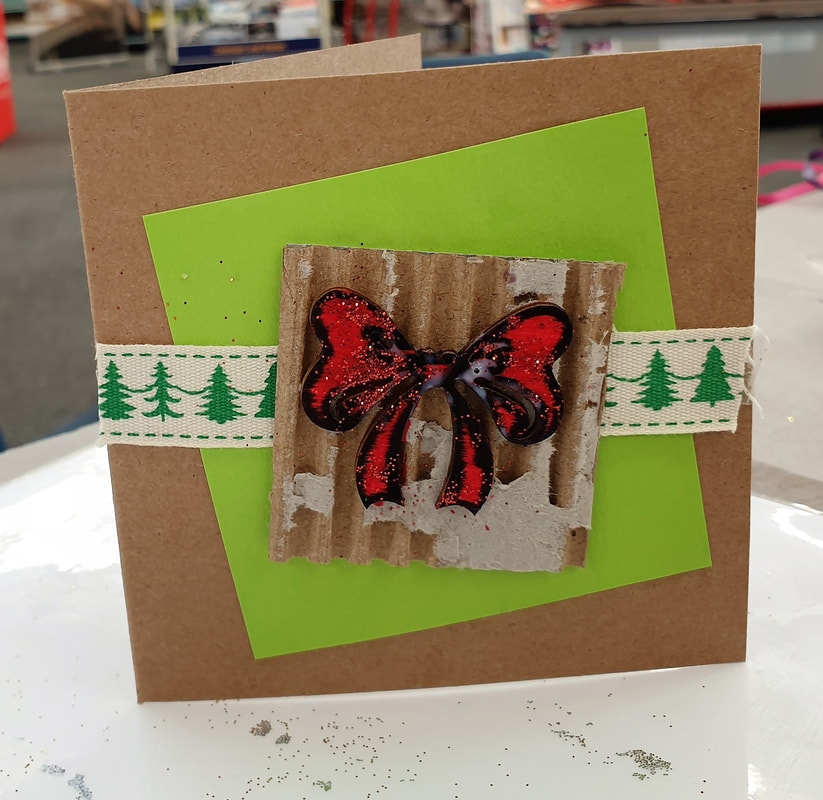 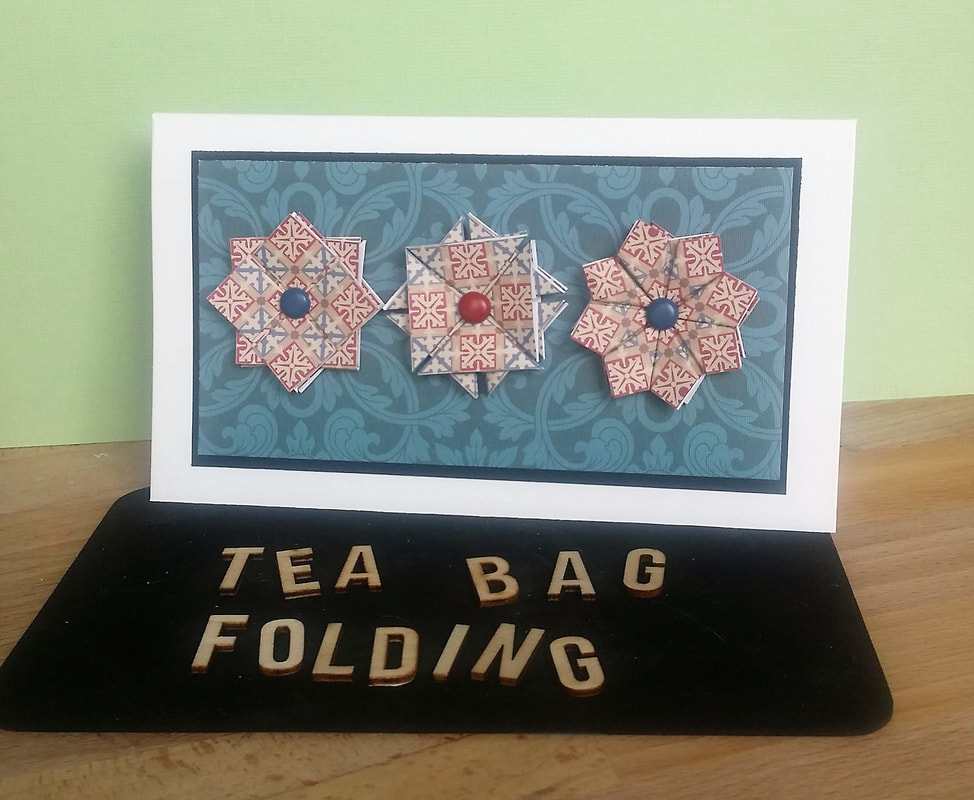 I thought I should expand my own knowledge a bit before my demonstrations this month. When the new papers arrived from DoCrafts the patterns in the Arts & Crafts paper pad inspired me to do some tea-bag folding again. I knew two basic folds and assembly already but did a search on the internet and Pinterest and following some diagrams taught myself the technique on the right. Come last Saturday at my demonstration in The Range, Stevenage I had a lovely group of people come to my demonstration to have a try at the tea bag folding. They made some lovely examples to take home with them to put on a card. We had a lovely chat about different papers to use for tea bag folding and thought that vellum would be nice at Christmas time as some of the designs look much like snowflakes or stars. I hope to see some more people tomorrow at The Range, Milton Keynes who would like to try this technique. Happy crafting. 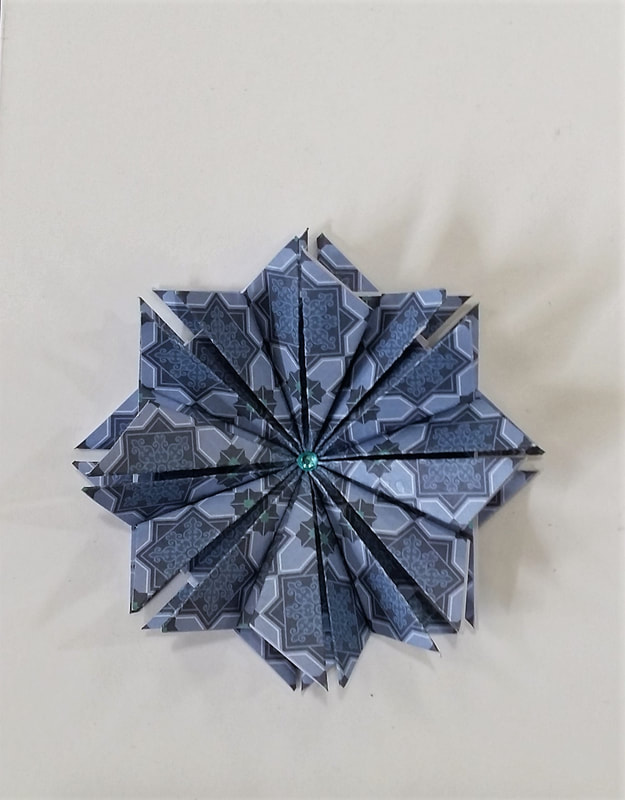 I wasn't sure where to start with this blog; however, I have decided to show and comment on a piece of work I made last year for my dear friend for her birthday. 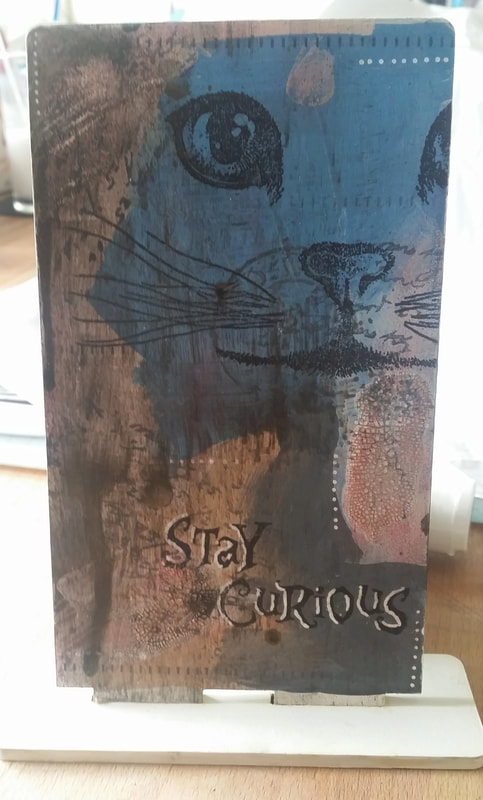 I've used Inkylicious Stand Up Plaques; the base is not firmly attached so I could post it. The main image is from Visible Image (Curious Cats) stamped using Ranger Archival Ink in Jet Black. The background was created using acrylic paints, Kroma crackle, Artiste Spritzing Ink - Gold Stone, Distress Inks and white Gesso. White highlights are in white Sharpie and background stamps from DoCrafts Boofle and Urban stamp collections.
This is one of my first attempts at mixed media art and I was quite pleased with it. |